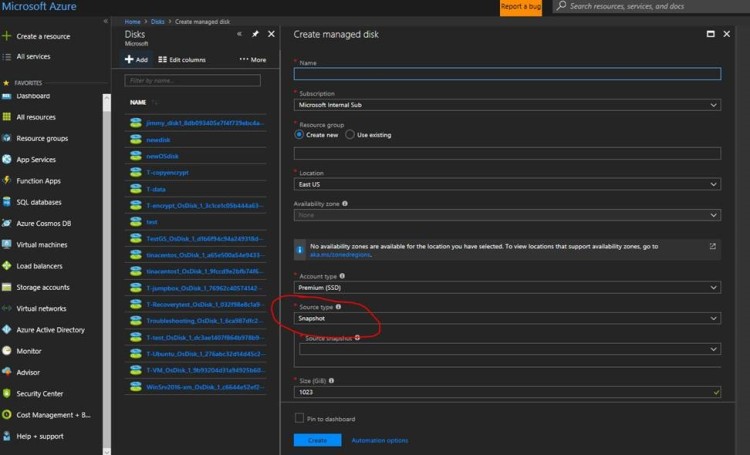
How to detach a data disk from a Windows VM

Using portal:

  1. In the left menu, select Virtual Machines.
  2. Select the virtual machine that has the data disk you want to detach and click Stop to deallocate the VM.
  3. In the virtual machine pane, select Disks.
  4. At the top of the Disks pane, select Edit.
  5. In the Disks pane, to the far right of the data disk that you would like to detach, click the Detach button image detach button.
  6. After the disk has been removed, click Save on the top of the pane.
  7. In the virtual machine pane, click Overview and then click the Start button at the top of the pane to restart the VM.

Using PowerShell:

$VirtualMachine = Get-AzureRmVM -ResourceGroupName “myResourceGroup” -Name “myVM” Remove-AzureRmVMDataDisk -VM $VirtualMachine -Name “myDisk” Update-AzureRmVM -ResourceGroupName “myResourceGroup” -VM $VirtualMachine

How to create a new VM using existing VM disk

Summary: take snapshot of VM OS disk, create disk of snapshot, create vm using disk.

1) If the disk is managed, use Azure portal to take a snapshot

  1. Sign in to the Azure portal.
  2. Starting in the upper-left, click New and search for snapshot.
  3. In the Snapshot blade, click Create.
  4. Enter a Name for the snapshot.
  5. Select an existing Resource group or type the name for a new one.
  6. Select an Azure datacenter Location.
  7. For Source disk, select the Managed Disk to snapshot.
  8. Select the Account type to use to store the snapshot. We recommend Standard_LRS unless you need it stored on a high performing disk.
  9. Click Create.

2) Create a new managed disk using the snapshot.

All services – disk – add – chose the snapshot you created – create

s1

3) Create new Vm from the managed disk

s2.jpg

By this way , you can get a new vm with different size.